DIY Valentine’s Chocolates
Ready for some yummy DIY chocolates you can make in just a few minutes? I’ve made these for Valentine’s Day for the past several years and they are always a HUGE hit. These are perfect for neighbors, family members, friends, teachers, and co-workers. My favorite part is that you can make a big batch all at once and then split them up into little goodie bags for several different people.
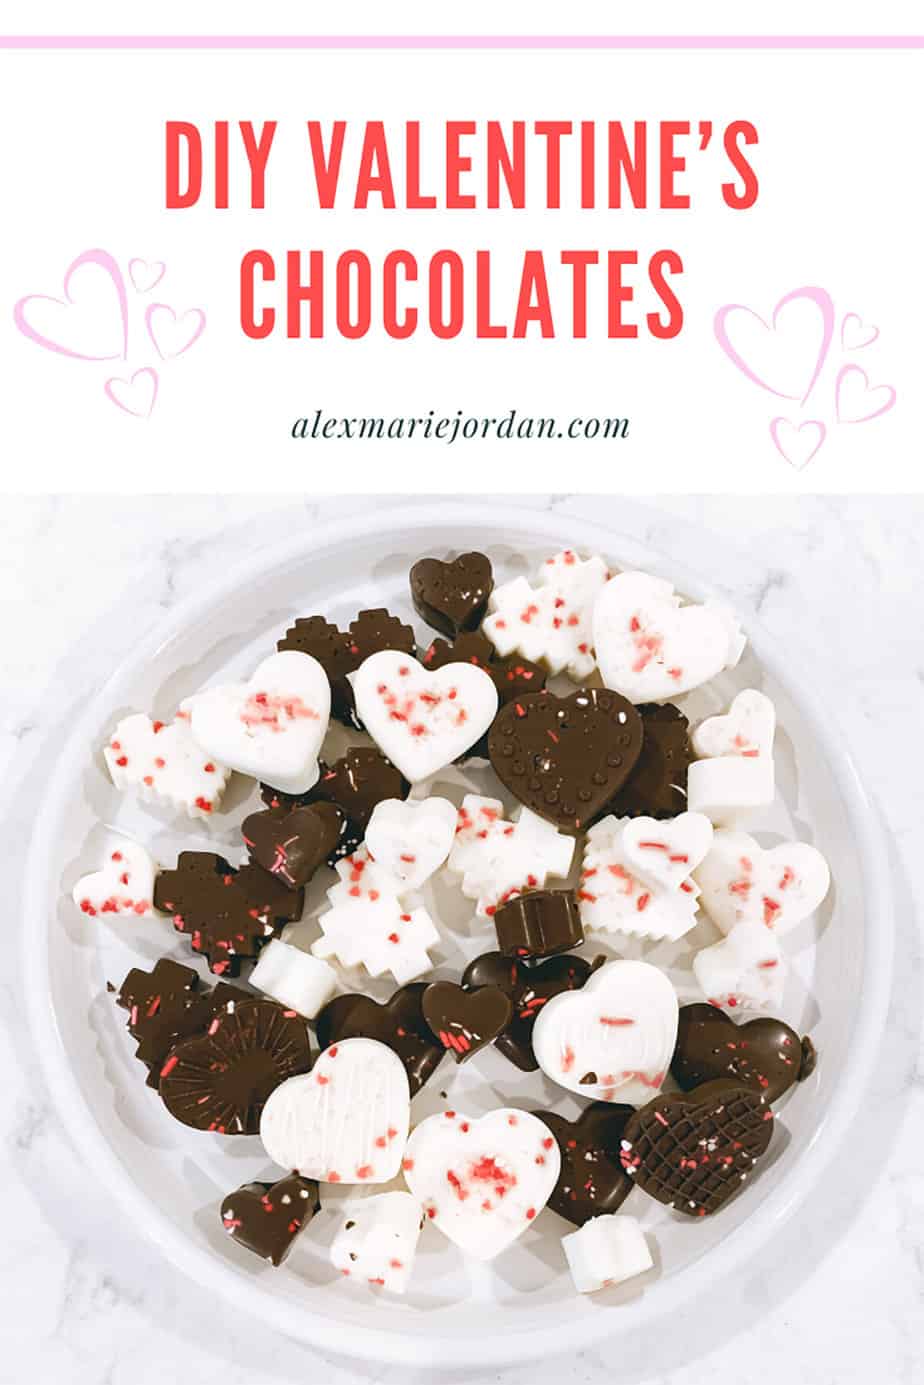
What You Need
- Chocolate Melting Wafers (I like to do white and dark or milk for variety)
- Sprinkles or other fun candies (these add some color and extra sweetness!)
- Molds
- Goodie Bags (optional)
What To Do
This is honestly SO simple… The key here is to have everything set up and ready to go because once your chocolate is melted, you’ll want to work fairly quickly before it hardens.
- I place my molds on cookie sheets or some other stable, flat surface and then just melt the wafers according to the directions on the bag. While they’re melting, take some of your sprinkles or other candies and put some in the molds. Once chocolate is melted, pour into molds and then you’ve got the option to put a few more sprinkles on top (which is actually the back side, but you know what I mean)!
- I always place my trays in the freezer or fridge to harden. It’s faster than leaving them out and I think they just get harder that way, which will make bagging up and transporting a lot easier.
- After a couple hours, they should be ready to go and you’ll just pop them out of your molds, separate as you wish and then bag up individually for whomever your recipients are!
*Word of advice: keep these refrigerated until you’re ready to transport or hand out, so that your chocolate doesn’t get soft or melty! 🙂
And that’s it! Truly so simple and I promise you that they will be a huge hit with whoever you share these chocolates with. I know if I didn’t make these one year I’d have a few people asking where they were…



One Comment